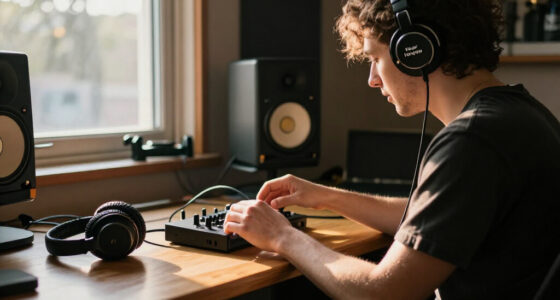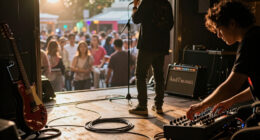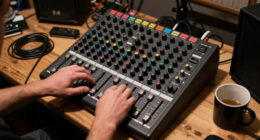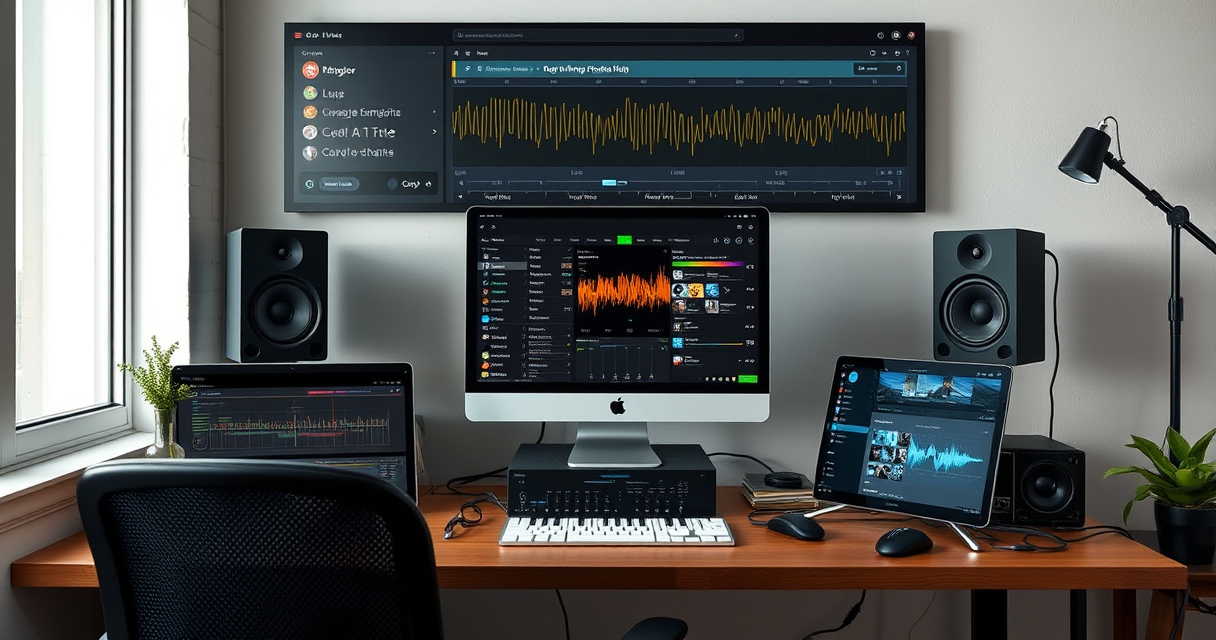

Music, audio, photography, and video increasingly belong to the same creative ecosystem. A musician may record a performance, photograph the session, edit short-form clips, print promotional images, and publish everything from one compact workspace. A photographer may capture concerts, produce behind-the-scenes video, record interviews, or create tutorials. The most useful creator setup is therefore not simply a collection of devices. It is a connected system that helps you capture ideas, produce polished work, and deliver that work efficiently.

Get audio and creator gear delivered free with Prime
- Fast, free delivery on millions of items
- Prime Video, Amazon Music and more included
- Member-only deals all year
This hub offers a practical way to navigate music, audio, and creator technology without becoming distracted by every new release. It covers the decisions that matter across recording, monitoring, visual production, mobile work, storage, and presentation. Use it to identify the weakest part of your workflow, understand what to prioritize, and find the PhotoMocha guides that explore specific equipment categories in greater depth.
Start With the Work You Actually Make
Before comparing equipment, define the creative result you need to produce. A songwriter recording demos has different requirements from a concert photographer, a video essayist, or a creator filming live sessions. Even two people using similar cameras and microphones may need very different setups because they work in different rooms, travel different distances, and publish through different channels.
A useful planning exercise is to describe your workflow in four stages:
- Capture: recording sound, photographs, video, performances, interviews, or field material.
- Control: positioning equipment, monitoring signals, shaping light, and keeping the setup stable.
- Produce: editing, mixing, organizing, backing up, and preparing finished files.
- Deliver: publishing online, presenting to clients, printing, archiving, or exhibiting the work.
Spend first where a limitation regularly interrupts one of these stages. If unwanted room noise ruins recordings, another software instrument may not help. If unstable support compromises long-lens images, a new editing preset will not solve the underlying problem. The strongest upgrade is usually the one that removes a repeated obstacle.
USB condenser microphone for recording
As an affiliate, we earn on qualifying purchases.
As an affiliate, we earn on qualifying purchases.
Build a Reliable Audio Capture Chain
Choose the Source and Environment First
Good audio begins before the signal reaches a computer. The performer, instrument, microphone position, room, and background noise all influence the recording. A modest setup used in a controlled environment can be more effective than elaborate equipment placed in a reflective or noisy space.
Think about microphone choice in relation to the source and location. Some recording situations benefit from close placement and focused pickup, while others need a broader sense of space. Spoken-word creators should also consider plosive control, consistent mouth-to-microphone distance, and desk vibration. Musicians need enough freedom to perform naturally without introducing cable noise, stand movement, or avoidable room sound.
Keep the Signal Path Simple
A typical digital recording chain includes a microphone or instrument, an interface or recorder, monitoring equipment, and recording software. Each additional connection creates another place where gain, routing, power, or compatibility can go wrong. Start with the simplest chain that meets the project’s needs, then expand only when you can identify a specific limitation.
Set levels with enough headroom for louder moments rather than trying to make the input appear constantly large. Monitor for distortion, hum, intermittent cables, and environmental noise before recording a complete performance. A brief test captured and played back through headphones can prevent far more wasted time than a complicated repair attempt later.
As an affiliate, we earn on qualifying purchases.
Monitor With Purpose
Headphones and speakers answer different questions. Headphones make fine details and unwanted noises easier to notice, provide isolation during tracking, and work well in shared spaces. Speakers show how a mix behaves in a room and can offer a more natural sense of balance. Many creators benefit from using both, but neither is automatically accurate in every environment.
Consistency matters more than constant switching. Learn how familiar, professionally produced material sounds through your monitoring system. Compare your work at moderate volume, check it quietly, and audition it on ordinary playback devices before delivery. These comparisons help reveal whether important elements disappear, speech becomes difficult to understand, or low frequencies dominate outside the studio.
The physical arrangement also deserves attention. Keep left and right speakers positioned symmetrically where possible, reduce desk vibrations, and avoid letting one side fire into an open room while the other sits against a wall. Small placement changes can affect what you hear and the decisions you make.
studio monitor speakers for music production
As an affiliate, we earn on qualifying purchases.
As an affiliate, we earn on qualifying purchases.
Connect Sound With Photo and Video Production
Modern creator projects are often audiovisual. A technically strong performance video can still feel unfinished if its sound is distant or inconsistent, while excellent audio may struggle to attract attention without clear supporting visuals. Plan the two sides together: decide which sound will be recorded, which moments need visual coverage, and how the files will be synchronized and organized.
Prioritize Stable Camera Support
Support equipment is especially important for performances, interviews, tutorials, and long sessions. A tripod may provide the basic platform, but the head and leveling system determine how quickly the camera can be composed and adjusted. PhotoMocha’s guide to the best ball heads for tripods explores options for stable positioning, while the guide to tripod leveling bases for fast, precise setup is useful when uneven floors or changing locations make alignment slower.
Creators covering concerts, sports, or stage rehearsals may need support without sacrificing mobility. A monopod can reduce fatigue while allowing faster repositioning than a conventional tripod. The roundup of the best monopods for sports photography is relevant beyond sports whenever a long lens, crowded venue, or rapidly changing subject makes full tripod deployment impractical.
Use Hands-Free Carrying Systems Carefully
A wearable camera support can help creators move between locations, operate audio equipment, or keep their hands available for lighting and accessories. Fit, camera retention, access, and movement all matter. Anyone considering this style of setup can begin with PhotoMocha’s guide to camera chest harnesses for hands-free shooting.
Before using a harness in a demanding environment, practice attaching and removing the camera, confirm every locking point, and check how the system behaves when bending or moving quickly. A hands-free setup should make the workflow calmer, not encourage rushed handling.
portable lighting kit for video creators
As an affiliate, we earn on qualifying purchases.
As an affiliate, we earn on qualifying purchases.
Design a Mobile Creator Kit
A portable kit should support a defined assignment rather than every imaginable scenario. Begin with the essential capture device, power, media, cables, and one dependable monitoring option. Add backup items according to the consequences of failure. A spare cable or memory card may be more valuable in the field than an accessory used only occasionally.
Organization is part of performance. Assign a consistent place to batteries, adapters, cards, microphones, and cleaning supplies. Separate unused media from recorded media, and develop a visible method for identifying depleted batteries. These habits reduce searching and help prevent accidental reuse or formatting.
The bag itself should match both the equipment and the surrounding environment. Daily commuting favors a different balance of access, protection, and discretion than a production day. PhotoMocha’s overview of everyday carry camera bags for daily photography can help creators think through those tradeoffs. When choosing, account for the complete working load rather than the camera alone: headphones, recorder, chargers, small stands, personal items, and weather protection all require space.
Prepare for Specialized Environments
Location work introduces conditions that a desk-based setup avoids. Wind affects microphones and support gear. Dust reaches connectors and moving parts. Rain complicates power, cabling, and lens changes. Crowds limit where stands can be placed. The correct response is not always more equipment; it is often better preparation and fewer exposed steps.
Water-based projects require a particularly deliberate system. A housing must suit the intended camera configuration and operating conditions, and seals need careful inspection and maintenance. PhotoMocha’s guide to underwater camera housings provides a starting point for comparing this specialist category. Before placing valuable equipment in water, follow the manufacturer’s procedures, test the assembled housing as directed, and avoid assuming that two similar-looking components are interchangeable.
Create a Production and File-Management Workflow
Creative work becomes difficult to manage when files are scattered across cards, desktops, downloads folders, and unnamed project directories. Establish a repeatable structure that keeps original recordings separate from editable project files and final exports. Use descriptive names that remain meaningful after the project leaves recent memory.
A straightforward project folder might include audio, video, photographs, project files, exports, licenses, and delivery copies. Preserve original media, and create backups before deleting or formatting capture cards. For important work, avoid treating a single external drive as both the working copy and the backup.
Versioning also matters. Labels such as “final,” “final-new,” and “final-revised” quickly become ambiguous. Dates or numbered versions make revisions easier to trace. When collaborating, agree on sample rates, frame rates, file formats, naming rules, and delivery specifications before production begins.
Move From Digital Creation to Physical Presentation
Creator technology does not end at online publishing. Musicians need cover artwork, event displays, promotional prints, merchandise imagery, and physical portfolios. Photographers and filmmakers may also present stills, pitch boards, contact sheets, or exhibition pieces. The physical output should be planned with the same care as the capture process.
Choose Printing Materials for the Intended Result
Paper selection affects surface appearance, perceived contrast, handling, and presentation. The appropriate choice depends on the printer, ink system, image, viewing conditions, and desired finish. The PhotoMocha guide to the best photo paper for inkjet printers offers a focused entry point for creators preparing photographic output.
Use the printer and paper manufacturer’s guidance where available, confirm the correct media settings, and make a smaller proof before committing to a large batch. Screen brightness can make an image appear more luminous than a print, so evaluate proofs under appropriate light and adjust the workflow methodically.
Mount and Display Finished Work
Mounting can give prints rigidity, protect them during handling, and create a more deliberate presentation. Thickness, surface, cutting method, adhesive compatibility, and intended lifespan should guide the choice. For exhibits, portfolios, sets, or promotional displays, consult the guide to photo mounting boards and foam core.
Plan the final dimensions before printing, allow for borders or trimming, and test unfamiliar adhesives on expendable material. Presentation decisions should support the work rather than distract from it.
Upgrade the Bottleneck, Not the Entire Setup
Creator technology encourages continual comparison, but a complete replacement is rarely necessary. Review recent projects and identify the problem that appeared most often. Was setup too slow? Did the recording contain noise? Were files difficult to find? Did camera movement limit usable footage? Did the kit become too heavy to carry comfortably?
Then choose one improvement that addresses that problem directly. It might be equipment, but it could also be a labeled cable system, a refined folder template, better microphone placement, a more suitable bag, or additional practice with existing controls. Evaluate the result through completed work rather than specifications alone.
A Practical Path Forward
A dependable music, audio, and creator-tech setup grows around repeatable work. Begin with the source and environment, build a simple capture chain, monitor consistently, stabilize the visual side, organize portable equipment, protect files, and plan delivery from the outset. Specialized tools become valuable when a real project demands them.
The goal is not to own every category of gear. It is to create a system you understand well enough to use under pressure. When each part has a clear purpose and a predictable place in the workflow, technology becomes quieter—and the music, images, stories, and ideas can take the lead.
Halloween Picks
halloween
As an affiliate, we earn on qualifying purchases.