
TL;DR

Get audio and creator gear delivered free with Prime
- Fast, free delivery on millions of items
- Prime Video, Amazon Music and more included
- Member-only deals all year
Natural Light First means you learn how light behaves before you buy flashes, LEDs, or modifiers. Watch direction, softness, color, contrast, and bounce for a few days, then buy only the tools that solve a real problem you can name.
Most lighting mistakes start before you switch anything on. You see a flat portrait, a muddy product shot, or a harsh shadow across a face, and your brain whispers: buy a light.
I have felt that pull on real shoots, standing in a quiet room with a camera bag, a client waiting, and sunlight sliding across the floor like spilled honey. This guide shows you how to read natural light first, so your next purchase solves a real problem instead of adding more knobs.
Watch direction, softness, color, and contrast before changing gear or settings.
A window can teach front light, side light, backlight, diffusion, bounce, and shadow control in one room.
Move your subject first; even one step can change the photograph more than a new light.
Use reflectors, diffusion, and black cards before buying larger lighting kits.
Buy gear only when you can name the exact problem it solves.
Why Natural Light First Makes You Better Faster
Natural Light First makes you better faster because it trains your eye before it trains your wallet. You learn direction, softness, color, and contrast with light that changes by the minute, which is the best classroom you already have.
On my first paid headshot jobs, I often used a big window before I set up a stand. A face turned 10 degrees toward the glass could go from dull to alive, with tiny catchlights clicking into place like snap.
Think of it like learning to cook before buying a professional stove. If you do not know when onions are burning, more heat will not save dinner. In the same way, if you do not know whether a portrait needs softer light, side direction, or less background glare, a brighter lamp only makes the confusion louder.
Artificial light gives you control, but control only helps when you know what you want. If you cannot name the problem, you may buy a brighter version of the same problem.
natural light reflector for photography
As an affiliate, we earn on qualifying purchases.
As an affiliate, we earn on qualifying purchases.
How to Read a Window Before You Move Your Camera
- Stand still for one minute and watch where the brightest patch falls.
- Face your subject toward the window, then turn them slowly until the shadows flatter the face.
- Check the background for bright strips that steal attention.
- Take one test frame, then adjust position before changing settings.
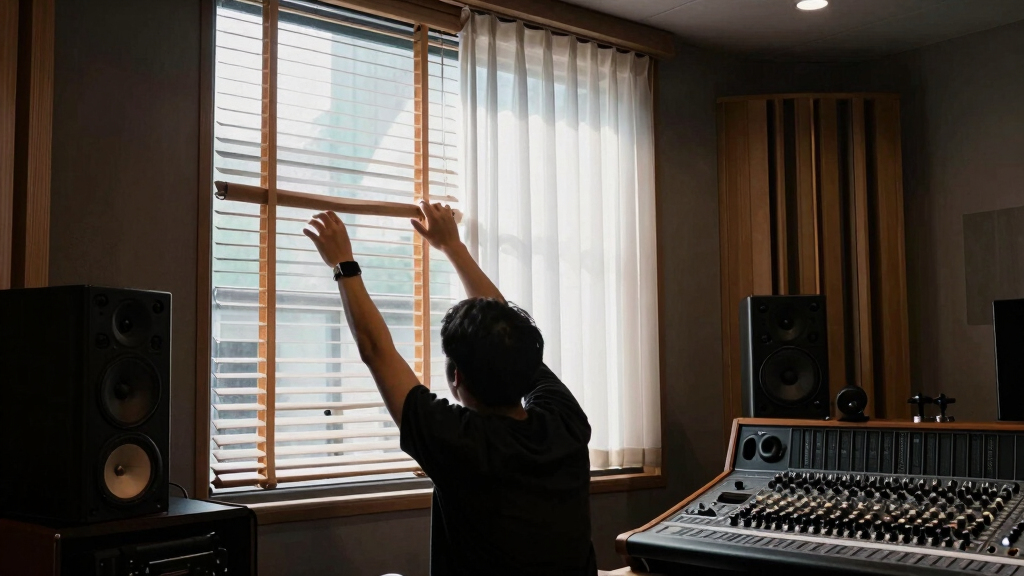
Natural Light First begins with the window because windows show you the shape of light. A large window close to your subject gives soft light; a small, far window gives harder shadows. Before touching ISO, move your subject one step.
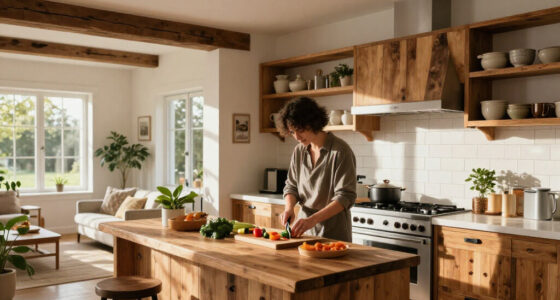
In a kitchen portrait, I might place you beside a cloudy north window and turn your shoulders slightly away. The face stays open, the cheek shadow gains shape, and the room behind you falls quieter.
For example, if you are photographing a child at a breakfast table, the best frame may not come from changing lenses. It may come from sliding the chair away from the bright rectangle on the floor, turning the child slightly toward the window, and letting the cereal bowl catch a small white highlight.
If sunlight makes a bright blade across the table, do not panic. Slide the subject back, pull a sheer curtain, or use the wall opposite the window as a natural reflector.
diffusion panels for portrait photography
As an affiliate, we earn on qualifying purchases.
As an affiliate, we earn on qualifying purchases.
What Direction of Light Gives You the Look You Want
Natural Light First works best when you connect direction to mood. Front light looks clean, side light adds texture, backlight creates glow, and overhead light can carve deep eye sockets unless you soften it. Direction is the fastest way to change a photo without buying anything.
| Light Direction | What It Does | Real Shoot Use |
|---|---|---|
| Front light | Reduces shadows and texture | Simple portraits near a bright wall |
| Side light | Shows shape, skin texture, and depth | Food, hands, ceramics, portraits with mood |
| Backlight | Adds rim glow and atmosphere | Hair light, steam, glassware, leaves |
| Top light | Can feel dramatic or harsh | Street scenes, midday shade, editorial work |
I use side light for bread, linen, pottery, and faces with character. It catches crumbs, wrinkles, glaze, and wood grain in a way flat light never does.
Picture the same bowl of soup in three places. Facing the window, it looks clean and simple. Turned sideways, the spoon casts a shadow and the surface gains depth. Set between the camera and the window, the steam glows, but the bowl may need a white card in front so it does not sink into darkness.
For a beginner portrait, start with front-side light, about 45 degrees from the window. You get shape without turning every shadow into a cliff.
As an affiliate, we earn on qualifying purchases.
How Soft Light Saves Skin, Food, and Small Rooms
Soft light is light that wraps gently because it comes from a large source close to the subject. A cloudy sky, a big window, or sunlight through a sheer curtain can smooth skin, soften product edges, and make a small room feel calmer.
On overcast days, the whole sky becomes a huge light source. That is why a gray afternoon can make skin look creamy and a white mug look round instead of chalky.
A practical test is to photograph your hand beside a bare sunny window, then photograph it again after pulling a sheer curtain across the glass. In the first frame, every knuckle may look carved. In the second, the same hand usually looks softer, like the light has learned some manners.
Hard light still has a place. Use it when you want drama: sharp leaf shadows on a wall, a crisp fashion portrait, or steam cutting through a sunbeam.
Beginner rule: if the shadow edge looks harsh, make the light source bigger, move it closer, or add diffusion before you buy a new lamp.
As an affiliate, we earn on qualifying purchases.
Why Color Changes More Than Your Camera Settings
Color temperature is the warmth or coolness of light, and it changes the whole feeling of a photograph. Morning light can feel blue and clean, late sun can turn amber, and shade can make skin look cool unless you balance it with care.
According to the National Institute of Standards and Technology, daylight color standards help photographers and manufacturers compare light in repeatable ways [1]. In plain language: color shifts are real, measurable, and visible in your files.
I once photographed a white dress beside a green garden wall. The dress looked faintly mint in every frame until we moved two feet away from the reflection.
The same thing happens in small apartments. A person standing near a red brick wall can pick up warmth on one cheek, while the other side of the face stays cool from the window. A white plate on a wooden table can turn honey-colored underneath even when the camera says the white balance is correct.
Before you blame your camera, look around. Grass, red brick, wood floors, and painted walls can bounce color onto skin with a quiet little whoosh you only notice later.
When Natural Light Beats Gear and When It Does Not
Natural light beats gear when the available light already gives you direction, mood, and enough brightness for clean files. It does not beat gear when you need repeatability, night work, fast action, or the same look across many frames.
- Use natural light for relaxed portraits, interiors, still life, travel, and learning to see.
- Add artificial light when clouds keep changing exposure during a paid product shoot.
- Use flash or LED when you must freeze motion, match a brand style, or work after sunset.
- Mix both when window light gives mood but needs a small lift in the shadows.
On a restaurant shoot, window light may make the salad glow at noon. By 3 p.m., that same table may look flat, and a small controlled light keeps the plates consistent.
At home, natural light may be perfect for a quiet portrait of someone reading near a window. For a dancer jumping in a dim studio, though, the same window may leave you with blur, high ISO noise, and a face that changes brightness every time a cloud moves. That is when gear stops being a shortcut and becomes the right tool.
Research from building science and daylighting design links natural light with lower electric lighting demand when spaces use daylight well [2]. For photographers, the lesson is similar: use what the room gives you, then add only what the room lacks.
How to Train Your Eye in 10 Minutes a Day
- Pick one room and photograph the same object at 8 a.m., noon, and 5 p.m.
- Turn the object so front, side, and backlight each get one frame.
- Place white paper opposite the window and compare the shadow lift.
- Write one sentence about what changed: direction, softness, color, or contrast.
- Repeat for five days before buying anything.
Learning to see takes daily attention, not fancy gear. Ten focused minutes teaches you more than an unopened modifier in a closet, because you start connecting the photograph to the light that made it.
Use something simple: an orange, a coffee cup, a hand, a roll of film. Watch the peel glow, the ceramic shine, the knuckles cast small blue shadows.
One useful exercise is to photograph a coffee cup on a windowsill every day for a week. On Monday, the handle may throw a hard little crescent. On Wednesday, clouds may erase that shadow. By Friday, you start predicting what the cup will do before you even lift the camera.
This is light before buying in the most practical sense. You build a mental map, and that map tells you which tool belongs in your bag later.
What to Fix Before You Spend Money on Lights
Fix the room first because many lighting problems come from placement, clutter, reflections, and bad angles. Before you buy, test curtains, white foam board, black fabric, and subject position; these tiny changes often solve the problem.
For product photos, a white card can open a shadow under a jar label. A black card can deepen the edge of a glass bottle so it does not vanish into a pale wall.
For portraits, move the subject away from the background. Even 3 feet can separate the face from the wall and let window falloff do beautiful work.
Imagine photographing a handmade candle on a desk. If the label looks dull, a white envelope just outside the frame may brighten it. If the glass jar disappears, a black notebook beside it can create a clean dark edge. Those are lighting fixes, even though none of them plug into a wall.
If you use clamps, blades, tape, or stands while shaping light, keep it sensible. Cut foam board on a stable surface, tape cables flat, and never place fabric against hot bulbs.
The First Gear to Buy After You Know the Problem
Buy lighting gear only after you can name the missing quality. If you need softer light, buy diffusion; if you need brighter shadows, buy a reflector; if you need repeatable light at night, then a flash or LED becomes suitable for a real job.
- Diffusion helps when sunlight is too sharp across faces or products.
- Reflectors help when one side of the subject falls too dark.
- Black flags help when light spills everywhere and kills shape.
- Stands and clamps help when your hands are tired and your setup needs repeatable placement.
- Flash or LED helps when natural light no longer gives enough control.
My advice is simple: buy the smallest thing that solves the clearest problem. A reflector you use every week beats a complicated kit you avoid because setup feels slow.
For example, if your portraits look good at noon but fall apart after sunset, a basic LED or flash may make sense. If your noon portraits look harsh, the better first purchase is probably diffusion. If your product shadows are too deep on one side, a reflector may be enough. Each purchase should answer one sentence: I need this because the light is missing this quality.
This brings us back to that first flat portrait. The answer may be a light, yes, but it may also be a curtain, a wall, or one quiet step toward the window.
Frequently Asked Questions
Is natural light enough for professional photography?
Natural light is enough for many portraits, interiors, food photos, and lifestyle shoots when timing and location support the look. For repeatable commercial work, night sessions, or fast-moving subjects, you will often need controlled artificial light.
What is the easiest natural light setup for beginners?
Place your subject near a large window with the window about 45 degrees to one side. Add a white card opposite the window if the shadow feels too heavy, then adjust the subject before changing camera settings.
Should I buy a flash or LED first?
Buy based on the problem you face most. Choose flash when you need power and motion freezing; choose LED when you want continuous preview for video, still life, or slower portrait work.
How do I know if light is too harsh?
Look at the shadow edge. If it cuts across skin, food, or fabric with a sharp line, the light is hard; soften it with a sheer curtain, shade, diffusion, or a larger nearby source.
Can natural light first still help if I already own lighting gear?
Yes. Natural light first trains your judgment, so your gear choices become cleaner and faster. You start using flash, LEDs, and modifiers to copy or refine real light, not to guess your way out of a scene.
Conclusion
Remember this: buy light after you can see light. Spend a few days with one window, one subject, and one honest question: what is the light doing right now?
When you learn that, your camera feels quieter in your hands. The room starts speaking in shadows, glow, glare, and color, and you finally know when to answer with gear.
Evergreen bestsellers Picks
bestsellers
As an affiliate, we earn on qualifying purchases.